Picture this: you bought a reed diffuser several months ago and you’ve been absolutely loving it. You flip the reeds every week or so, and even change them out when you think they need to be refreshed.
But now you’re coming to the end of that bottle — in fact, it’s only got a few drops left! So what do you do with your now empty reed diffuser bottle?
Do you throw it away? Well, you could, but that’s pretty unimaginative and maybe even a bit wasteful. Here are a few simple ways to give your glass reed diffuser bottle another life and keep those good smell scents spreading throughout your home!
Contents
Getting Rid of Any Oil
Just how empty is your reed diffuser bottle? If it’s bone dry, then you can skip this part, but if there are a few drops (or more) of oil left, you should responsibly get rid of them.
Essential oils can’t be thrown away like regular oils, because they are considered hazardous waste. Small amounts of oil can be poured into a paper towel then left to dry out.
Baking soda can also be used. Obviously, you should not reuse the baking soda for anything edible afterward — however, it would work well for house cleaning!
You should also think about if you have any young children or pets that might have an allergic reaction to the leftover oils. Please be sure to let them evaporate out of their reach.
Recycling Rules
Recycling glass and plastic bottles is pretty standard, however, ceramics cannot be recycled. So what should you do with them?
Well, to start, you don’t have to get rid of them. Once they’re cleaned and unlabeled, you’ve got a perfectly good container on your hands.
Donating them is another way to ethically dispose of the bottles. You could also give them to children to paint and turn it into an art project! The options are endless.
Cleaning
You have to clean the bottles really well if you aren’t planning on throwing them away. This is important because if you go back to use them again, you don’t want any residues from previous oils.
While you could probably chuck the bottle in the dishwasher and be done with that, we aren’t convinced that would be thorough enough. Instead, you should soak your bottles in warm soapy water for 20 to 40 minutes then give them a good rinse.
Let them air dry and there you go! You’ve got clean bottles!
Reusing Your Bottles
One question people often have is if they need to throw away their reeds when they finish their reed diffuser bottle. The answer is yes.
Diffuser reeds can wear out, and they are also completely infused with the previous reed diffuser liquid, essential oil, or carrier oil. Luckily, diffuser reeds are quite affordable, and you can buy them in bulk and just use 5 or 6 at a time.
Here is a budget-friendly pack of 100 reed diffuser sticks so you can stock up!
The only part of a reed diffuser bottle you should be reusing is the diffuser bottle itself.
Reusing your reed diffuser bottle for more aromatherapy doesn’t just make the most sense, it’s also the easiest and most straightforward method!
Keep reading to learn two ways you can turn your old empty bottle into a brand new reed diffuser fit for the finest of homes!
Buy Refills
If you’re in a pinch, or just have a favorite reed diffuser brand you love, buying a refill is an affordable way to give your bottle a new life. Some refills even come in extra-large bottles so that will last you ages.
Here are some of our favorite reed diffuser refills:
Urban Naturals Spring Clean Reed Diffuser Oil Refill Kit
This refill is fresh, crisp, and has hints of lemon, leafy greens, and lavender in it. The company estimates their four-ounce bottle will last you about 3 months, and it even comes with a few sticks!
If you’re looking to change up your last reed diffuser scent, the Urban Naturals Spring Clean refill is the subtle fragrance you need!
LOVSPA Santal Sandalwood Reed Diffuser Oil Refill
We love sandalwood because it’s earthy, musky, and a bit sweet. We also love that LOVSPA offers it in refill form, so you can just pop the liquid in your empty reed diffuser bottle and be ready to go!
A four-ounce bottle of refill liquid will last about four months, so it’s an economical way to get the most out of a container that would normally just be tossed away.
NEST Fragrances Grapefruit Reed Diffuser Liquid Refill
We love a bit of zest, and this reed diffuser liquid refill offers just that! Some customers have even raved that this is their favorite scent ever, which is saying a lot considering how many reed diffuser liquids are on the market!
The refill is also 5.9 ounces, so you can squeeze out another half refill, or maybe just do two smaller ones. The choice is yours!
Make Your Own Refill
But let’s say you aren’t into buying refills. Maybe you want to have more control over the ingredients, or you’re interested in getting creative with the scents.
The good news is making your own reed diffuser liquid is remarkably easy, and you probably already have all the ingredients lying around.
You can either have a water-based liquid or an oil-based liquid. So let’s go over both.
Water-based Refill Liquid
To make this reed diffuser liquid, mix one part alcohol, one part warm water, and 20-30 drops of essential oils. For your alcohol, you can use Isopropyl Alcohol, Denatured Ethyl Alcohol, or even vodka as long as it’s at least 90 percent alcohol.
Some people prefer to use bottled or distilled water to limit the chance of any unwanted bacteria growth, especially if you’re not up for changing the liquid very often.
The choice of what essential oil to use is yours! Just remember, it’s always easier to add more oil than to take any way, so start with 20 drops and work your way up.
You should also mix the alcohol and oil together first before adding the water since oil doesn’t mix with water, but alcohol does.
Oil-based Refill Liquid
When going the oil-based route, start with a carrier oil like almond oil, olive oil, grapeseed oil, or fractionated coconut oil. Then add your 20-30 drops of essential oils, and one or two tablespoons of your high-proof alcohol of choice.
You could even use baby oil as your carrier oil if that’s all you have around. The beauty of making your own reed diffuser liquid is how versatile it is.
Why Alcohol is Important
Alcohol is pretty important when making your own reed diffuser liquid. It helps the oils move up the diffuser sticks easily, which means that their scent can travel and stay fresh quicker and for longer.
Alcohol also keeps the diffuser sticks from molding, which is why the water-based liquid has a lot of alcohol in it.
Blend Ideas
Here are some fun essential oil blends to try out when making your reed diffuser liquid.
Soothing Scent
We love to relax our space with aromatherapy, and lucky for us, there are plenty of essential oils out there that do just that!
Mix up some sandalwood, ylang-ylang, and frankincense together for a warm scent that will give your space a delicate earthy cuddle.
Fresh and Zesty
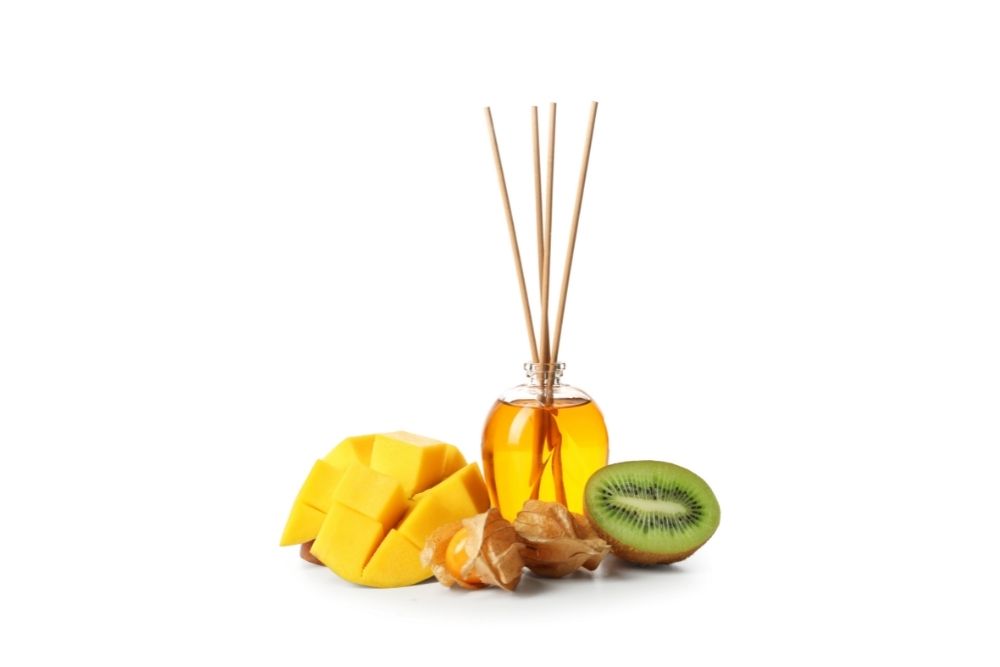
This blend is great to put a spring in your step and energize you. Just keep in mind that this is not a pet-friendly scent, so avoid it if you have little fur-babies around!
Mix up some lemon, grapefruit, eucalyptus, and peppermint for a bright zingy essential oil blend!
We purposely didn’t give you exact measurements so you can decide how strong you want each oil to be. You can also add an extra reed to your bottle to make the scent stronger.
Get Creative!
If refiling your empty reed diffuser bottle doesn’t sound like your thing, no worries. It could always be a tiny flower vase, or you can also find a glass recycling bin and chuck it in there.
The only thing we don’t recommend doing is using the bottle for anything edible, only because eating residue oil could be dangerous. On the other hand, if you know you’ve cleaned the glass super well, go for it!
Do you have any ideas for using empty reed diffuser bottles? What about a favorite reed diffuser refill? We would love to hear from you!
Get creative, have fun, and happy oiling!

I currently work as a medical receptionist, but my ultimate goal is to work as an occupational therapy assistant. Helping others achieve a better quality of life is something I’m after. That’s one of the main reasons I started this blog. Learn more about me.
