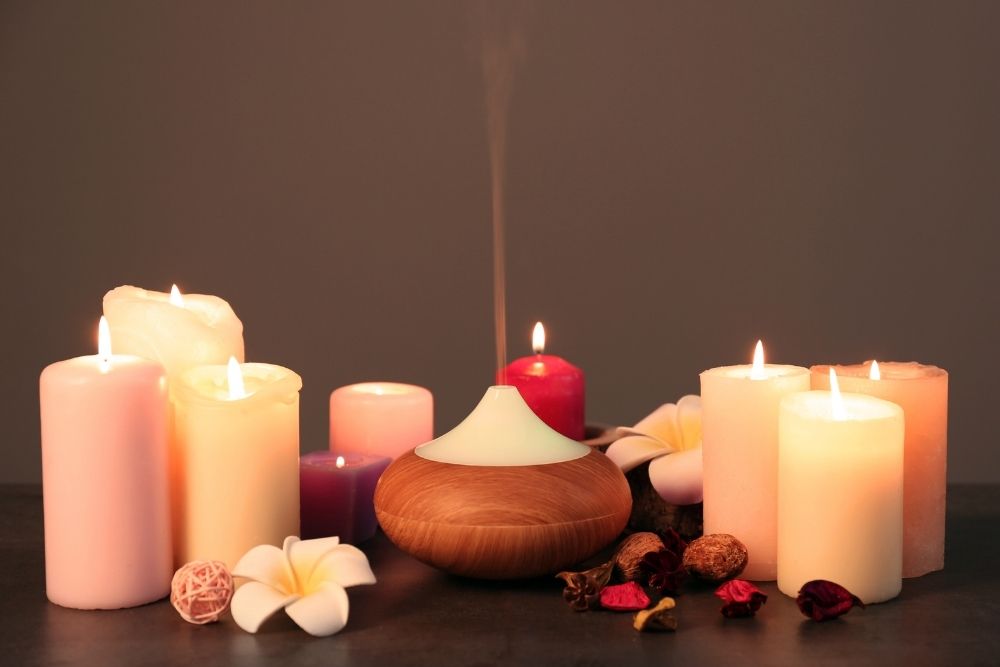
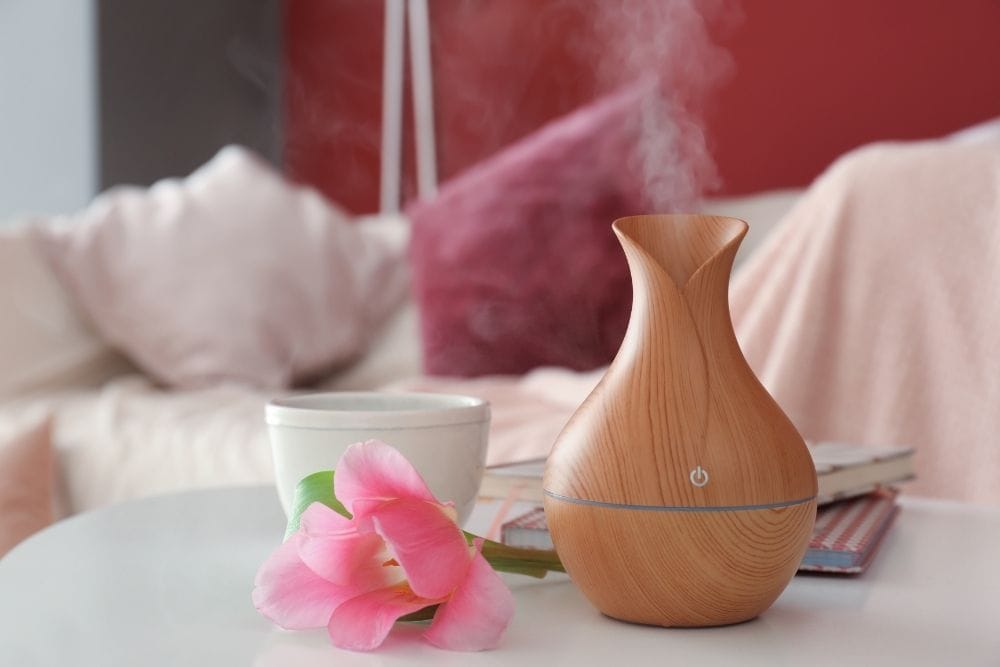
Essential oil diffusers are incredibly easy to use, and in many cases, they are also quite cheap. All you need is water, a few drops of your favourite oil and you’re good to go without any additional prep-time or fancy materials.
Because of how simple using a diffuser is, it might be easy to forget to do the maintenance required to keep it hygienic and working in tip-top shape. It is very tempting to just keep filling up the machine with water and oils until the end of time.
What could go wrong, right?
You want the way you enjoy your oils to be as cleansing as the oils themselves. A dirty diffuser is almost as gross as a dirty bath mat or an old dish sponge and it will get in the way of your essential oil experience.
Contents
Why You Need to Clean Your Diffuser
Like many objects, diffusers work best when clean. Neglecting to clean your diffuser can interfere with your essential oil practices and your overall health.
It Can Make You Sick
It is common knowledge that dark damp spaces are the perfect breeding ground for bacteria. The last thing you want is to inspect your diffuser after months of hardly paying attention to it while pouring in water and oils.
Because of how high the water to essential oil ratio is, an essential oil diffuser is basically a humidifier. Although an essential oil may be great for cleaning your toilet bowl or mopping the floors, the amount of oil in a diffuser will never be (and should never be!) concentrated enough to clean the machine’s airways.
Mold exposure can cause mild to very severe respiratory issues like coughing, throat irritation, a runny nose, and wheezing. This unwanted bacterial growth can also cause fatigue, watery eyes, and skin irritation.
Mold can also make your diffuser mist smell musky or even just a little bit ‘off’. If you feel like that’s a scent you’ve been experiencing, please inspect your diffuser and give it a good clean!
Chances are that if you’re smelling something weird, the bacteria has been there for a while and has had time to grow enough to be detected olfactorily.
These side effects may sound quite scary but keep in mind that these health risks are associated with bacteria and not the diffuser or essential oils themselves. However, keep in mind that even ‘antibacterial’ diffusers need to be maintained with the same amount of attention and care as a diffuser without any hygiene claims.
It is relatively quick and easy to clean your diffuser. We will talk more about how to do so naturally soon!
Old Oils Will Mix With New Ones
A diffuser turns oils and water into tiny particles through vibrations then projects these particles through the diffuser nozzle around your space. Over time particles from previous diffusing sessions will build up inside and interfere with the purity and scent of any new oils (and clean water) you add to your diffusers.
By unintentionally blending essential oils, you risk interrupting an aromatherapy treatment and wasting oils. This is particularly annoying if you’ve spent a lot of time and money looking for the purest essential oil brand that fits your needs, only to destroy the purity with a dirty diffuser.
Mixing oils can also cause allergic reactions or be incredibly overpowering and cause sinus irritation. Extra particles of oil also mean that your mist is not as diluted as you might think it is.
How To Clean an Essential Oil Diffuser
There are a lot of natural ingredients that can clean your diffuser, most of which you probably already have in your kitchen or stuffed into the back of a closet somewhere.
Ideally, you should be rinsing, wiping down, and changing the essential oil water of your diffuser every day. Your diffuser should also be deep cleaned at least once a month with one of the below recommended cleaning methods.
Remember, you are inhaling the mist that comes out of your diffuser, and if that mist has bacteria in it, you might be in for some nasty health issues. It’s always better to over-clean than under-clean.
Vinegar

Using White Vinegar is an easy way to clean your diffuser. Vinegar is a great cleaning ingredient you can use all over your house, and because it’s food-safe, you don’t need to worry about harsh synthetic chemicals.
Mix one tablespoon of vinegar into your diffuser water and let it run. Obviously, vinegar doesn’t smell great — although salt and vinegar chips are a completely different story — we recommend propping the diffuser next to or outside an open window so you don’t have to smell the cleaning process too intensely.
Some people suggest just leaving the house or room instead, but given the times, we don’t think that is a very realistic suggestion for most people right now. But hey, if that’s an option for you, go for it!
After the diffuser has done its thing, take a cotton ball and wipe down all the leftover vinegar and essential oil residue. After you’ve given everything a good wipe down, you’re good to start diffusing again!
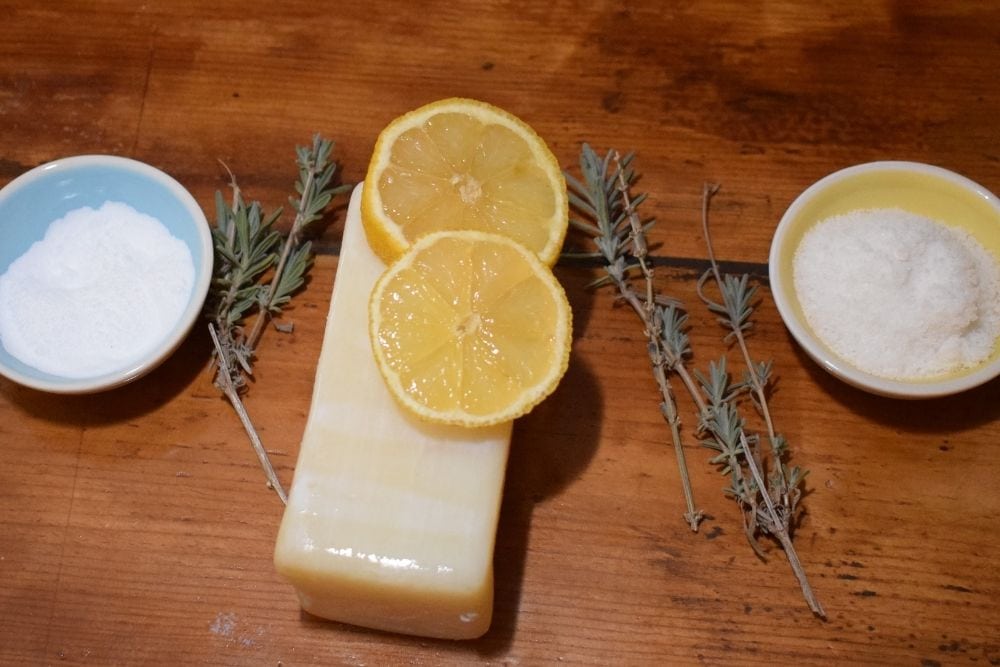
Citric Acid

Citric Acid is a very powerful cleanser and a great option when trying to disinfect your diffuser. Unlike the vinegar method, you do not need to run your diffuser to clean it.
Mix up a solution of one tablespoon of citric acid with warm water. We suggest looking at how much water your diffuser chamber holds and using the max amount of liquid recommended for your device.
Pour the fully dissolved mixture into the diffuser and let it sit for ten minutes. Once you’ve given the citric acid enough time to work its magic, pour out the mixture and give your diffuser a good rinse and wipe down to ensure all of the citric acid has been washed away.
It goes without saying that most electronic devices don’t work when wet, so let your diffuser dry completely! You can wipe it down with a towel initially but we still recommend giving it plenty of time to air dry as well.
Better to be patient than turn your diffuser on early and damage it because of a couple of drops of water you didn’t catch!
Baking Soda
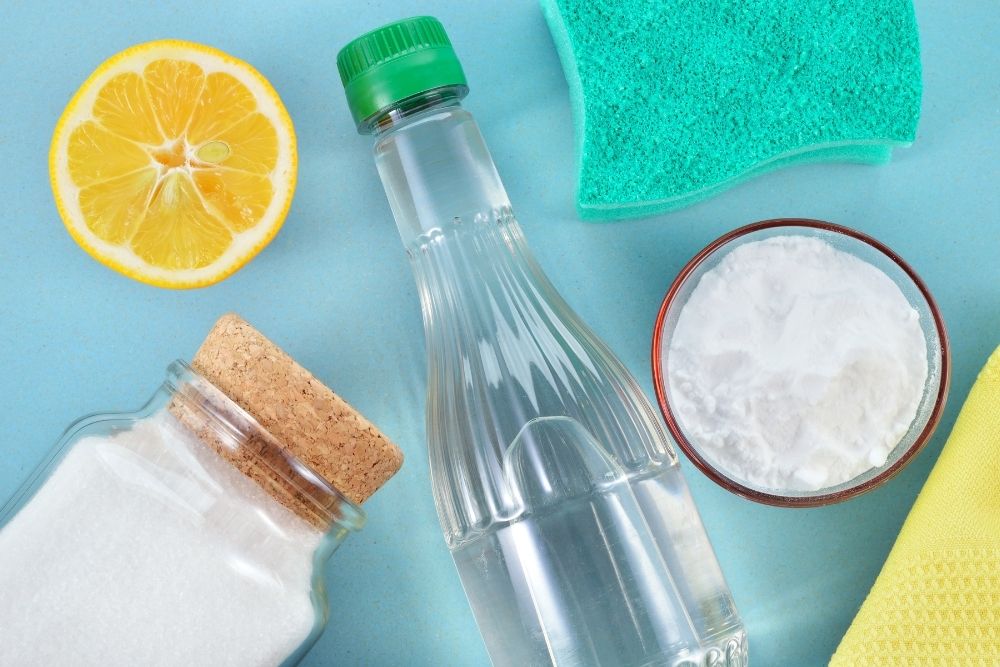
If you aren’t already cleaning your toilet with a mixture of vinegar and baking soda and a few drops of lavender oil for scent, you’re missing out. Baking Soda is a great cleaning ingredient and we love using it to clean our diffusers.
Mix up a paste of baking soda, water, and a few drops of vinegar. Rub this all over the inside of your machine and don’t forget the nozzle!
Let this sit for at least 10 minutes, then give it a good rinse. Use a Q-tip and plenty of warm water to really make sure there isn’t any leftover baking soda in the tubing.
Once again, giving your diffuser plenty of time to fully dry is essential!
While you wait, have fun try our 9 Ways to Burn Essential Oils Without a Diffuser and let us know which method was your favourite diffuser alternative!
Dish Soap
This method is pretty self-explanatory. You can always just wash your diffuser like you do your dishes.
Just make sure you rinse out all the suds before letting it dry!
Rubbing Alcohol
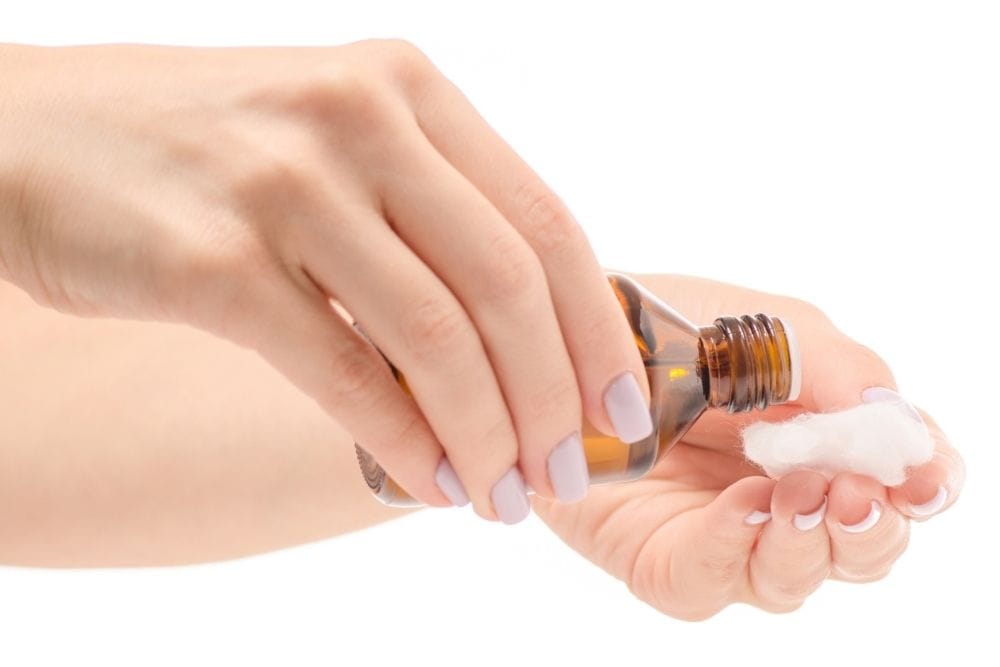
If you really want to play it safe, dip a cotton ball in rubbing alcohol and wipe the entire diffuser down. Make sure to get every crevice to fully disinfect your machine.
Rubbing Alcohol is a fantastic sanitizer and because it’s a first-aid staple, we’re sure you have some sitting in a closet somewhere. If you haven’t cleaned your diffuser for a while, we recommend giving it a wipe down with rubbing alcohol before exploring the other cleaning methods previously mentioned above.
A benefit to this cleaning method is that the drying time will be a lot shorter since alcohol
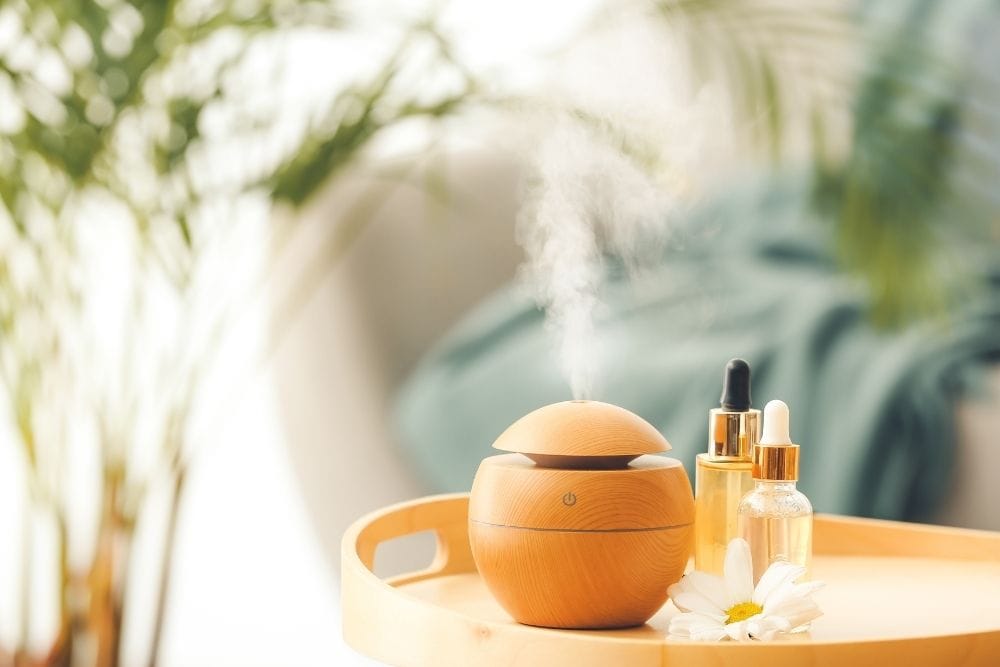
Benefits of a Nebulizing Diffuser
If you are concerned about keeping your diffuser clean but don’t think you can manage the maintenance of a traditional humidifier diffuser, a nebulizing diffuser might be a better option. You will still get all the benefits of diffusing your oils without having to worry about getting sick from mold or bacteria growth.
Nebulizing diffusers provide bursts of aroma to a room, rather than a steady stream of mist like traditional essential oil diffusers. However, The most important difference between a traditional and nebulizing diffuser is that a nebulizing diffuser requires no water, significantly lowering the risk of mold and bacteria growth.
These diffusers are also more energy and cost-efficient. The essential oils are broken down into incredibly small particles so that they can spread around a space and scent it efficiently.
Our favourite part is that they require less maintenance and cleaning since you don’t have to worry about wiping down a water chamber.
Product Suggestions
Here are a few great nebulizing diffusers to consider:
1. ArOmis Aromatherapy Diffuser

This diffuser is gorgeous. It looks like something that belongs in a vintage science lab and best of all, it has great reviews!
Made with wood and glass, this classic design is a refreshing change from the super modern-looking ceramic diffusers. It is quiet, small, and would even make an interesting gift for your fellow oil-loving friend or family member!
2. Scentcares Waterless Diffuser

If you’re looking for something a bit more modern for a lower price point, having a look at this Scentcares diffuser. Completely noiseless and about the size of a soda can, this diffuser has made many customers very happy.
One of its best features is that it’s battery operated so you can take it on the go. We also love that it comes with three settings and will shut off automatically after two hours.
3. Minidiva Aromatherapy Diffuser

As the name implies, this diffuser is compact enough to carry around the house with you. The battery life is great and customers have found is very easy to use.
We love how modern it looks and that it can be charged via USB. This small diffuser will efficiently scent a space up to 700 square feet and can run up to 8 hours with a fully charged battery.
Nebulizing diffusers can be cleaned by wiping them down with a rubbing alcohol-soaked cotton ball. We recommend doing this about once a week just to play it safe.
Make sure all the alcohol has evaporated before continuing to use your diffuser!
Conclusion
Keeping your diffuser clean is super important but it doesn’t have to be complicated. Essential oils can be very healing and relaxing, so the last thing you want to do is worry about getting sick because you’ve neglected to keep your diffuser chamber clean.
We recommend setting a timer every other week so you don’t forget to give your diffuser deep clean and to always have the ingredient for your preferred cleaning method stocked up.
As far as rinsing out your diffuser after each use, work on building the habit. After a while, you won’t even think about wiping it down or rinsing it out.
If you like falling asleep to it, give it a rinse in the bathroom sink while you brush your teeth then prop it up somewhere to dry during the day so it’s ready to use again at bedtime. Alternatively, if you’re a daytime diffuser person, rinse it out while washing the dishes after dinner.
Just remember the golden rule: never use your diffuser while it’s wet!
We also highly recommend you have a look at the nebulizing diffusers and let us know what you think. They are a great diffuser alternative for people worried about bacteria and mold growth and they generally cost about the same.
Have fun trying these different cleaning methods and let us know if you end up going for a nebulizing diffuser instead!

I currently work as a medical receptionist, but my ultimate goal is to work as an occupational therapy assistant. Helping others achieve a better quality of life is something I’m after. That’s one of the main reasons I started this blog. Learn more about me.