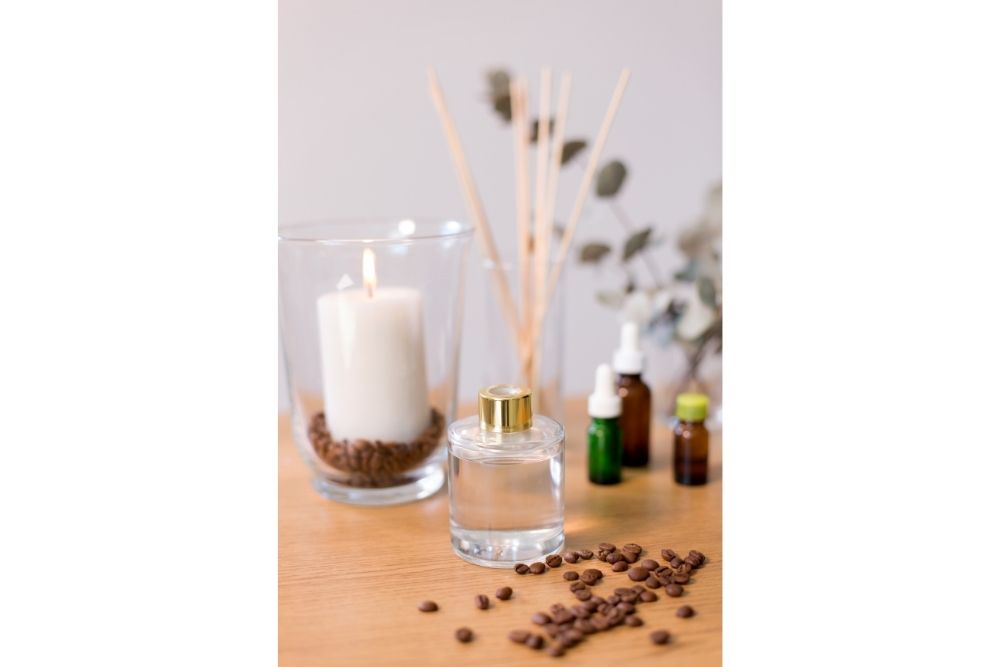
Have you ever gone to the store, bought candles, and wondered, why don’t I just make my candles at home? You’ve been wanting to try the craft with some of your amazing diffuser oils, but something is holding you back.
The question you keep asking yourself is, can you use diffuser oil to make candles? Keep reading, because we have just the answer for you!
Contents
Diffuser Oil And Candle Making – Yes Or No?
The simple answer to this question is yes, you can use diffuser oil to make candles. Well, that’s a wrap, have a great day!
Whoa whoa whoa, hold those horses! I have some important safety stuff that you need to know before you make a candle with diffuser oil.
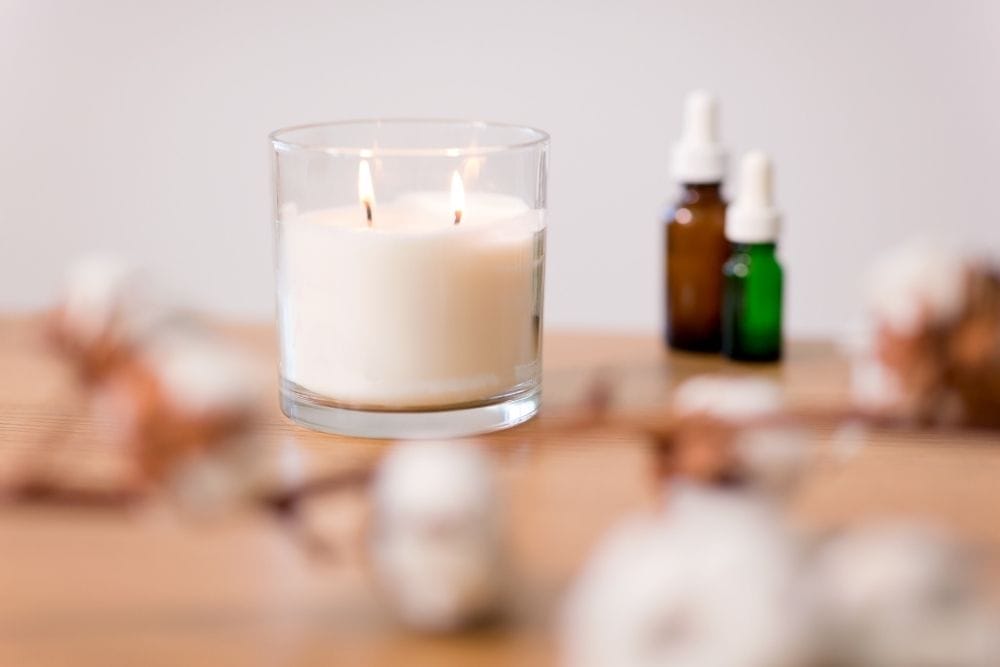
Essential Oils vs Fragrance Oils For Candle-Making
Essential oils are not the same as fragrance oils. They react differently when using them to make candles.
Approximately 75% of scented candles are made with fragrance oil. Some websites state big companies make candles with fragrance oil because it costs considerably less.
According to RIFM (Research Institute for Fragrance Materials) and the IFRA (International Fragrance Association), it’s safe to use fragrance oils to make candles. Fragrance oils are synthetic blends, meaning they aren’t 100% pure essential oil extracted from a plant.
100% pure essential oils can be dangerous to use in candles if the wax-to-oil ratio is wrong. Some essential oils also have low flash points making them highly combustible!
Below, I put together a table to help you see the pros and cons of using essential oil or fragrance oil to make candles. Here we go!
| PROS | CONS | |
| Fragrance Oil |
|
|
| Essential Oil |
|
|
I find it hard to believe that the fragrance oil used in candles is bad for you, especially when candles are made with fragrance oil 75% of the time. RIFM and IFRA test fragrance oils in candles and lotions and label them safe to use this way.
Just about everyone enjoys using natural products over synthetic ones. So, if you’re set in stone on wanting to use essential oils to make candles, you still can, you just need to take extra precautions in doing so.
As a side note, the flashpoint of essential oil must be higher than the wax’s melting temperature (122 – 180 Fahrenheit or 50 – 80 Celsius). This is one way to prevent your essential oils from becoming an angry combustible flame.
Another fun fact, essential oils with flashpoints below 141 degrees Fahrenheit (60.5 Celsius) are considered a HAZMAT Class 3 Flammable Liquid. Is that crazy or what?!
Is It Better To Make Candles With Fragrance Oil Or Essential Oil?
Even with this beautifully organized table, the answer to this question is still up in the air. Honestly, the answer to this question is based on your preference.
Both oils are okay for you to use. Today, candles are made with both fragrance oil and diluted essential oils.
Fragrance oil is considered fake oil but it’s used because it’s cheaper and the smell stays strong. Essential oil is pure plant oil but it’s more expensive and the smell fades a lot quicker.
So what do you prefer? A long-lasting scent or an all-natural label? You decide what’s better.
Best Oils For Candle Making
When it comes to selecting the best fragrance oils to make candles with, all fragrance oils give off a strong scent that lasts. So, choosing a fragrance oil is super easy because you can choose any scent and it will be strong.
It’s going to be a lot harder to find a strong and lasting scent from essential oils. To make this decision easier for you, I created a list of stronger-smelling essential oils you can use to make candles.
- Anise
- Atlas Cedarwood
- Basil
- Cinnamon Leaf
- Clary Sage
- Clove
- Coriander
- Eucalyptus
- Geranium
- Ginger
- Lavender
- Lemongrass
- Palmarosa
- Patchouli
- Peppermint
- Petitgrain
- Pine
- Rosemary
- Sweet Orange
- Vetiver
- Ylang-Ylang
There are plenty of other oils you can use, but there is a start. I found a great article relating to flashpoints and essential oils that will help ease your mind about safety and candle-making.
The essential oils that were listed with their flashpoints are anise, atlas cedarwood, basil, cinnamon leaf, clary sage, clove, geranium, lavender, lemongrass, palmarosa, patchouli, peppermint, petitgrain, vetiver, and ylang-ylang. Although, I did read that ylang-ylang doesn’t give off a strong scent in candles.
Preparation To Make Candles With Diffuser Oil
Making a candle with diffuser oil might be pricey, but it’s fun and easy to do. Now that you have a good-sized list of oils to choose from, let’s go over what you need to buy to make candles.
Buy A Container
You are going to need a container to put your wax candle in. Here are some great ideas for glass bottles (I love the cork-top ones! They are great for gift-giving!)

![]()
Make sure the container you buy is shorter than the wick length. That would be a bad start to a fun project!
Choose Your Wax And Wick
Now you choose a slow-burning wax. You don’t want your wax to burn too quickly because if it does, your essential oil scent will be gone in a matter of minutes.
Most diffuser oil candle-making enthusiasts lean towards soy wax or beeswax. If you have the choice, don’t choose paraffin wax because it’s a fast-burning wax and it will diminish the smell of your diffuser oil.
Soy wax is slow-burning and has a hot-burning wick. What the heck does that mean?!
Soy wax doesn’t get very hot so it needs a wick that gets hot. The main types of wick used to make candles are cotton and hemp. Hemp wick burns hotter and releases more oil scent into the air, so buy hemp wick if you can.
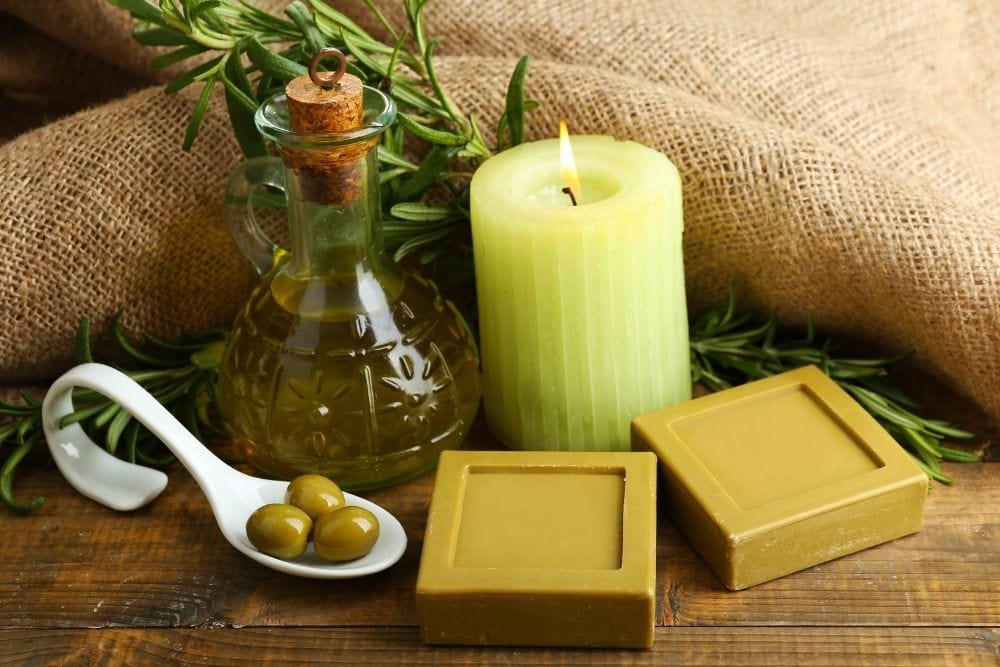
Beeswax is significantly denser than soy wax, which means it is even more slower-burning than soy wax. Also, beeswax gives off a lightly-scented honey smell that pairs well with essential oils.
You might also want to think about the candlelight itself. Beeswax gives off a warm yellow color while soy wax has a cool blue color.
Choose Your Diffuser Oil
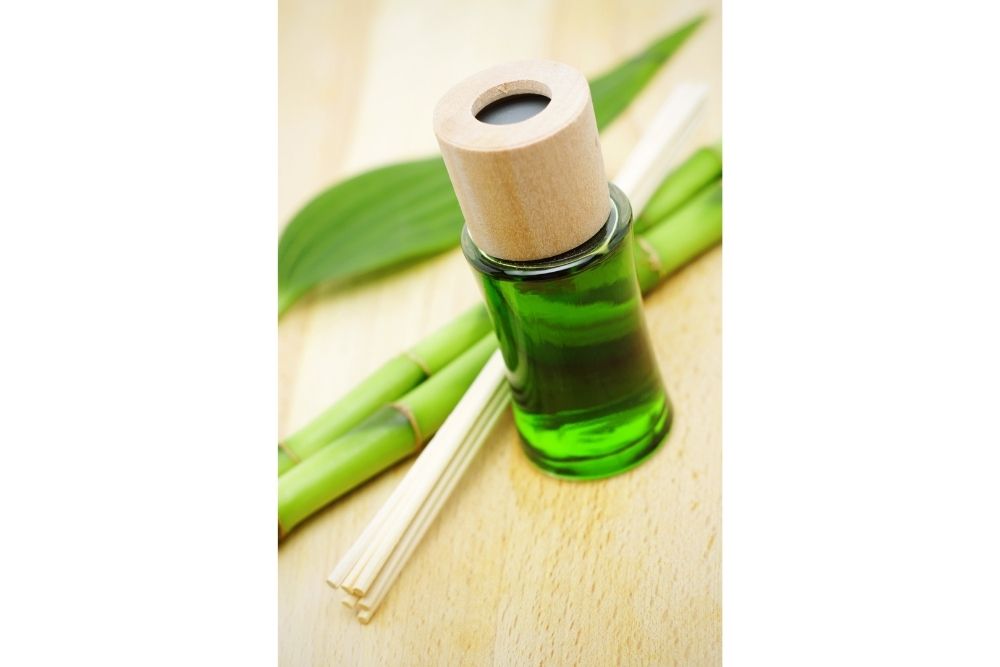
Well, this should be an easy one. You have a starter bulleted list in the section just above this one!
Like I said before, you’re going to want to choose stronger oil scents. Even if the scent seems overbearing in its liquid form, it won’t be when it is diluted in candle wax.
Buy A Wick-Centering Tool Or DIY It
You can either buy a wick-centering tool to place on top of your candle container or you can DIY a wick-centering tool, like a popsicle stick and tape, an alligator clip, or a clothespin. These are all good DIY options.
The orange wood stick will be used to stir your diffuser oil in the hot melted wax. You don’t need to buy an orangewood stick, you could always DIY this too.
How To Make Diffuser Oil Candles
You’ve bought everything you need. Now it’s time to make a diffuser oil candle! If you’re a visual learner, check out this Youtube video for easy microwavable directions.

Step 1 – Measure Out The Wax
Measure out 2 cups of wax and pour them into a microwavable bowl or glass measuring cup. The glass measuring cup is easiest (Fewer dishes for you!).
Step 2 – Melt The Wax
There are two main methods used. You can either use the double boiler method or the classic microwave method.
The double boiler method gives you more control over the temperature of your wax and oil and prevents too much heat that can destroy the active compounds of your oil. You’ll want to heat your wax to 185 degrees Fahrenheit before adding in essential oil.
The double boiler method is going to be messier than the microwave method. It will be more difficult for you to pour the wax and oil mix into your container.
The classic microwave method simply puts your wax into a glass measuring cup and places it in the microwave to bake. You’ll want to check on it every 30 seconds and do a quick stir before placing it back in the microwave until it’s fully melted.
Step 3 – Add Your Diffuser Oil
Drop between 10 to 30 drops of oil into the melted wax and stir well. The range of diffuser drops is quite large because it’s dependent on how strong you want your candle to smell.
One guide said 4 teaspoons of the oil for every 4 ounces of melted wax. One article mentioned 10 drops while another mentioned 30 drops.
I think the most important rule to stick to is finding the right balance of the oil-to-wax ratio. In the chart above (10% oil, 90% wax) the balanced ratio would end up being 2.4 teaspoons for every 4 ounces of melted wax.
Step 4 – Add The Wick
Rest the wick-centering tool of your choosing across the top of the container you chose for your candle’s final resting place. Secure the wick to your wick-centering tool of choice, and let the wick touch the bottom of your candle container.
You’ll want to try and center your wick in the middle of your container for even-burning of your candle wax. Don’t forget to leave some wick at the top of your container so you can light your beautiful creation!
Step 5 – Pour The Hot Wax And Oil Mixture
Carefully pour the hot wax and oil mixture into your container. Try to keep the wick centered while you are pouring (it helps to pour slower).
Don’t move the container as soon as you finish pouring. Let the wax somewhat solidify before relocating the container (if you decide to).
Step 6 – Let The Wax Set And Give The Wick A Trim
You can either leave the wax candle container resting where you left it or place it gently into the fridge to help it cool faster. Once the wax is fully set, you’ll take some scissors and trim the extra wick from the top.
Leave a ½ inch wick or at least enough length to light the candle. If you trim the wick too short, when the wax melts it will put out the candle flame and your candle will be useless.
Voila! You just made yourself a diffuser oil candle!
To keep it smelling fresh, add a lid to your container. Cough* cough* Go with the cork-topped glass containers (The tops are super duper cute! I can’t get over it).
The hard work is done. Light your candle, put your feet up, and enjoy the smell of your creation!
A Candlelit Conclusion
You learned first and foremost that you can use diffuser oil to make candles. There are pros and cons to using fragrance oil and essential oil but you can use both of them to make your candle.
We gave you a list of strong-scented essential oils to help you get started on your diffuser oil candle-making journey. Whether you go with fragrance oil or essential oil, it’s your choice.
You now know how to make your very own candle from start to finish. Are you excited to get going?!
I’d say this calls for a candlelit conclusion. Start making your diffuser oil candle today! Tootles!

I currently work as a medical receptionist, but my ultimate goal is to work as an occupational therapy assistant. Helping others achieve a better quality of life is something I’m after. That’s one of the main reasons I started this blog. Learn more about me.
Bernadette Edwards
Monday 27th of February 2023
It's a no no for me, using diffuser oil to make candles or wax melts. I measured everything out fine melted the wax to the correct temp, rubbish, sorry to say, hardly any scent what a waste of time and money.
Harjith
Sunday 1st of October 2023
@Bernadette Edwards, thanks for the update re your experience