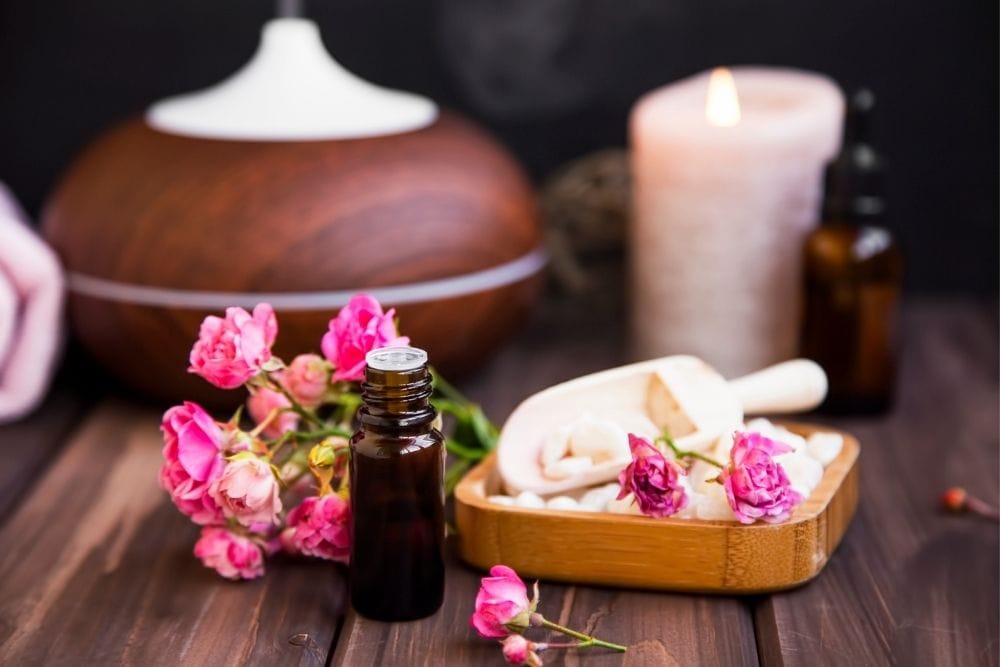
You’re absolutely in love with Young Living diffusers but have no clue how to operate them! Don’t worry, we’ve all been there before.
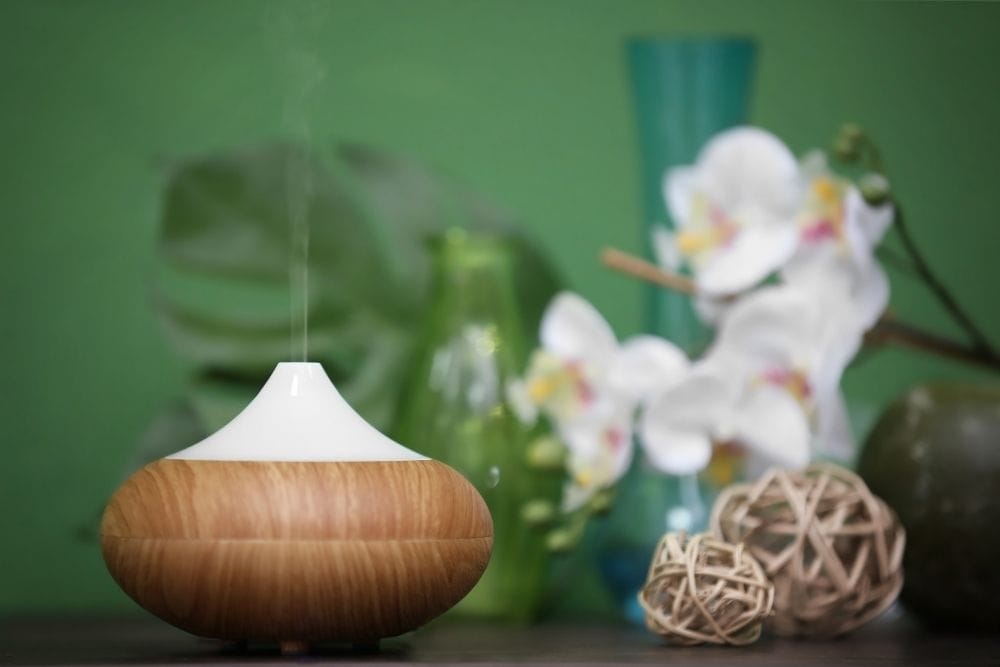
There are several Young Living diffusers to choose from, but for the most part, they all operate very similarly. Below we will walk you step-by-step on how to use the young living diffuser.
Contents
Young Living Diffuser Step Chart
| Young Living Diffuser Steps Guide | |
| Step 1 |
|
| Step 2 |
|
| Step 3 |
|
| Step 4 |
|
| Step 5 |
|
| Step 6 |
|
| Step 7 |
|
| Step 8 |
|
Steps On How To Use The Young Living Diffuser
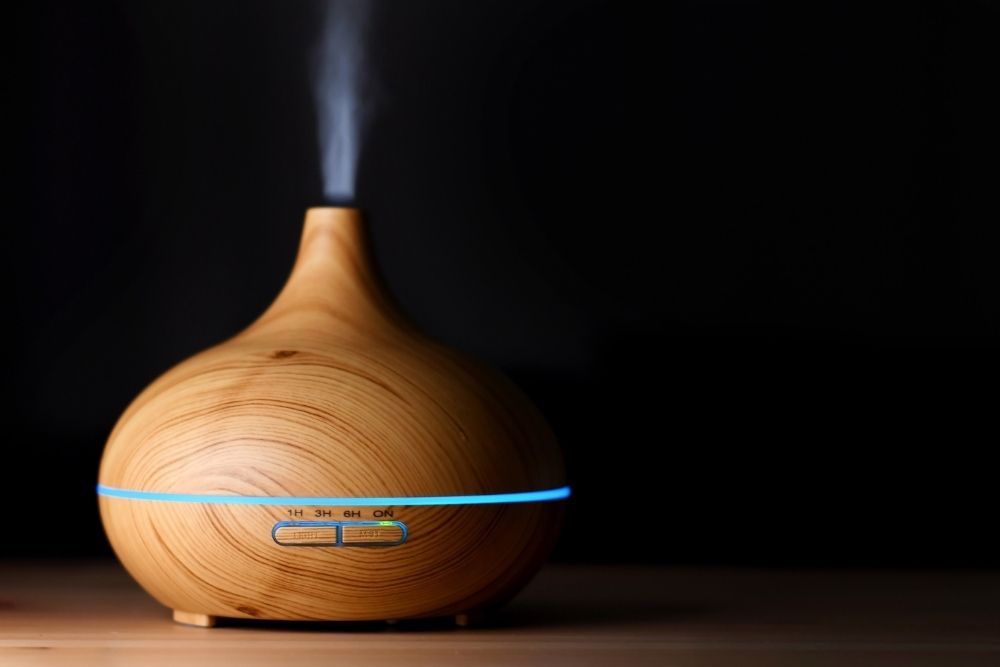
Most of the Young Living brands’ diffusers are the ultrasonic diffuser type. This just means their diffusers use water and a vibrating disc that sits on the bottom of the water tank, turning the water into a mist to permeate the air with lovely essential oil fragrances.
We will break down every step into baby steps to make sure you know how to use the Young Living Diffuser. Here is a simple and easy guide for you to follow.
Step 1. Make Sure You Have All The Diffuser Parts
When you first get a new Young Living diffuser, always make sure every diffuser part is inside the packaging. Filling your diffuser tank with water and then realizing the top is missing would be a huge bummer!
In general, most Young Living diffusers come with four pieces;
- Plug-in cord (if it isn’t battery operated)
- Diffuser base that holds the water tank
- Top for the water tank
- Outer cover for design
Also, make sure the metal disc attached to the bottom of the water tank is present. Don’t push too hard on the disc or your diffuser won’t work properly and you’ll have to buy a replacement disc.
Shake your diffuser lightly to make sure the disc isn’t loose. If all parts are there, you are ready to move onto step 2.
Step 2. Remove The Outer Cover And Inner Cover
The outer cover, or the outer lid, lifts straight up off the base. Make sure you hold the base and outer cover in both hands firmly so you don’t throw it across the room!
Next, you’ll lift the small inner cover (lid or top) straight up. This inner cover easily comes off and has a small hole on the top where your mist will escape.
Step 3. Add Water
Some Young Living diffusers suggest you use distilled water, some diffusers suggest tap water, and others say you can use either. The Desert Mist, Lantern, and Aria diffuser all use purified or distilled water. While the Dew Drop and Rainstone diffusers use tap or spring water.
Feel free to read our article about the arguments for and against distilled vs tap water in a diffuser. The best action is to follow the recommended water type of your specific Young Living diffuser.
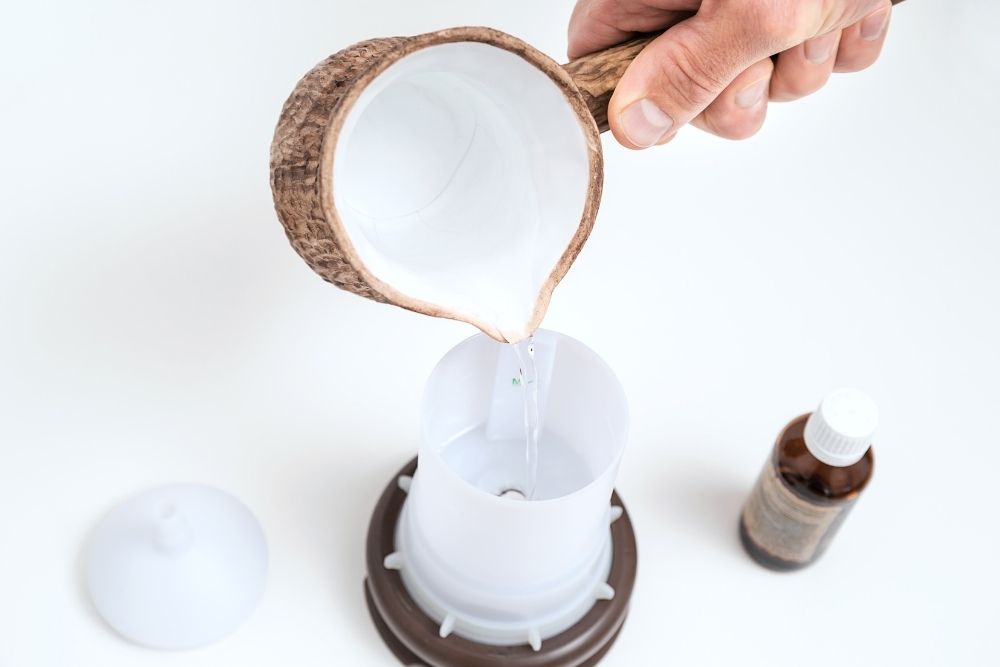
The Young Living diffuser comes with a water fill line mark – It will either be a line or a bright-colored marker. Add room-temperature water into the water tank until it reaches and doesn’t exceed the water fill line.
Make sure you don’t get water into the misting eyelet located on the side of your water tank base. If water gets inside, flip your diffuser upside down and let it sit on a hand towel.
Step 4. Add Essential Oil
You’ve made it to the fun part! It’s time to add your fragrance of choice to your Young Living Diffuser.
Young Living diffusers come in different ml water tanks. The best rule of thumb is to add five drops for every 100ml.
So, the 200ml Desert Mist diffuser would take 10 drops of essential oil. If you like your fragrances stronger you can always add more drops as needed. Feel free to mix a few different essential oils too (just follow the water to oil rule).
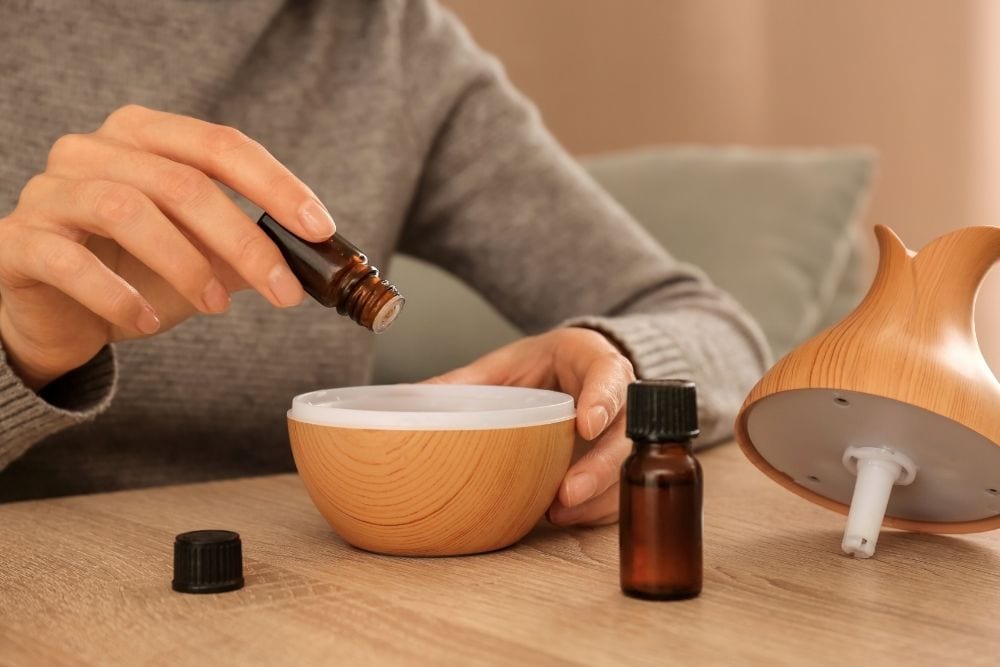
Some Young Living diffuser users add essential oils before adding water because the water helps break up the essential oils better. If you go this route, just make sure you aren’t dropping the oils directly on the metal ion disc.
Step 5. Place Inner Cover And Outer Cover Back On
Once the water is added place the inner lid/cover on top of the water tank. For the diffuser to work properly, make sure both the inner cover and outer cover are securely in place.
Step 6. Plug-In The Diffuser
Make sure your hands are dried off for this step. We don’t want Einstein’s hair! Plug the power adapter into a power outlet.
When it comes to removing your power adapter from the wall, never tug on the wire. Instead, grab the plug from the hard plastic piece (wall plug or anchor) and gently pull the plug from the wall outlet.
Step 7. Turn The Power On
Lastly, turn the power on by pressing the power button located on the diffuser base. Some of the Young Living diffusers have different button presses that activate different features.
For the Desert Mist diffuser, one power button press runs your diffuser on high mode. Two power button presses run it in low mode and three button pushes are in intermittent mode. Desert Mist also has a light feature button you press multiple times to cycle through different colors.
For the Dew Drop diffuser, pushing the button once turns it on. Pressing it twice switches the light off and three times will turn the diffuser off.
Let your diffuser run for 30 minutes at a time. Running your diffuser longer than that in one period of time may give you some upsetting side effects, like a headache or nausea.
To learn more about side effects from prolonged exposure to essential oils, read our article, “Can A Diffuser Be Left On All Night?”
Step 8. Rinse Or Clean After Use
After each use, you’ll want to rinse your diffuser’s water tank out. Don’t forget to rinse the inner lid cover with water as well.
If you plan to store your diffuser or not use it for a while, make sure you deep clean instead of rinsing it out. Leaving a diffuser without a deep clean can cause essential oil to build up in the water tank and the metal ion disc causing mold.
Here is a quick rundown of what goes into a deep rinse;
- Rinse the diffuser out
- Use a cotton swab dipped in rubbing alcohol to clean the ion disc (don’t push on the disc too hard!)
- Use a mild soap and water mix to clean the plastic inner lid/cover
- Never use harsh aerosol sprays, solvents, or abrasives to clean the plastic housing
For a more in-depth explanation on how to clean your diffuser, check out our article, “Do Diffusers Cause Mold?”
Young Living’s Best-Selling Diffusers
Young Living offers several different ultrasonic diffusers. Their best-selling diffusers are the Desert Mist diffuser and the Dew Drop diffuser.
Desert Mist

![]()
Here are some of the wonderful features the Desert Mist diffuser comes with:
- Ultrasonic diffuser type
- Morrocan-inspired design
- 10 lighting options, including a candlelight flicker mode
- Fills a medium-sized room (30 m or 323 square feet)
- 10 hours of max run time
- Holds 200 ml of water
- Less than 44 decibels (noise)
- Aroma diffuser
- Uses essential oils
- Automatic shutoff
- Three run modes
Dew Drop

![]()
Here are some of the amazing features the Dew Drop Mist diffuser offers:
- Ultrasonic diffuser type
- Elegant and spa-inspired design
- 11 lighting options, including ambient light
- Fills a medium-sized room (30 m or 323 square feet)
- Four hours of max run time
- Holds 180 ml of water
- Less than 44 decibels (noise)
- Humidifier and aroma diffuser
- Uses essential oils
- Automatic shutoff
- Timed shutoff
Both of these diffusers are absolutely amazing products! Young Living definitely didn’t cut the features short on these two.
For a more in-depth comparison between Young Living’s top-selling diffusers, read our article, “Comparing Dew Drop vs Desert Mist Diffuser.”
Young Living Essential Oils
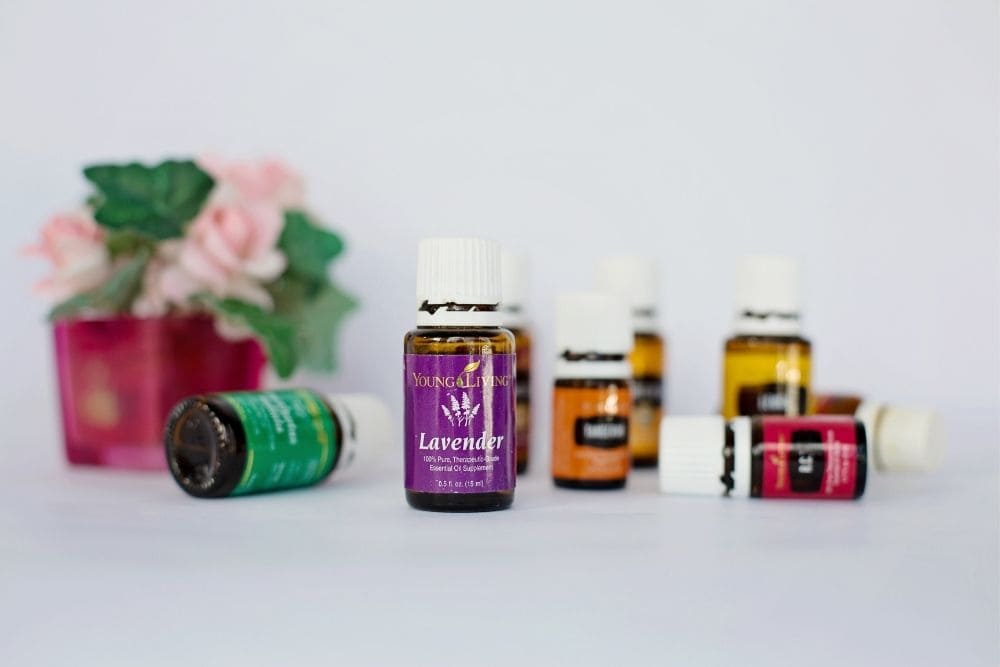
Young Living offers a wonderful variety of absolutely stunning essential oils. Below we’ve listed the most frequently bought Young Living essential oil fragrances.
- Lavender
- Thieves (Cinnamon blend)
- Purification (blend)
- Lemon
- Peace And Calm (blend)
- Valor (blend)
- Peppermint
- Panaway (blend)
- Citrus Fresh (blend)
- Frankincense
- Stress Away (blend)
- Eucalyptus
- Orange
All of these scents work wonders in your Young Living diffuser. If you have essential oils from other brands, they work just as well in Young Living diffusers. So, no need to toss those out!
The Wrap Up
We hope this guide to using your new Young Living diffuser is super helpful. If you haven’t already bought your diffuser, we’ve given you Young Living’s best-selling diffusers.
Now that you’ve learned how to use the Young Living diffuser, it’s time to start putting your lovely diffuser into practice! Relax to the fragrances from your Young Living diffuser, you earned it!

I currently work as a medical receptionist, but my ultimate goal is to work as an occupational therapy assistant. Helping others achieve a better quality of life is something I’m after. That’s one of the main reasons I started this blog. Learn more about me.